


Modelling Walkthrough- Basic Greybox
Time to outline the workflow which we have adopted throughout this project in regards to pipeline, trialing of techniques, and the finished outcome.

Keeping this in mind, the work exhibited so far is yet to leave simple greyboxing, as the decision in regards to texturing, and the process/style used is yet to be finalized.
Let us focus on the creation of an in-game asset - the Typewriter.
The process for the creation of this asset began with the manipulation of a simple polygon primitive cube; insertion of edge loops and movement of individual vertices to achieve the basic shape required. Removing a few faces inside of the poly, and bridging the edges allows for a space for the keys to be places later on in the build.


Further manipulation of the polygon primitive yields a shape which starts to look like the desired object.

Taking into account the stylized feel the game will have, beveling of edges etc, will happen later on into the build.

Further insertion of edge loops allow for the fine tuning of the edges, in addition to the ability to create the area for the typewriter punches and ribbon to feature.

The faces on the rear partition lead to the extrusion and creation of the casing which will hold the rollers upon which the paper is fed through the typewriter. As this area had to be hollow, the deletion and bridging of certain faces had to be carried out to fit the design.


As you can probably tell, the amount of edge loops had created quite a mess of vertices, which could be optimized. As to save myself a job later, the cleaning up of topology was carried out.

Some beveling was done as to better visualize the different surfaces, and to help show where seems would be places during the unwrapping process prior to texturing.
The next job list was to create the integral components which will make this a typewriter. These objects, made in the same fashion, consisted of the ribbon feed/reel, punches and holder, keys, and the handle on the side of the machine.


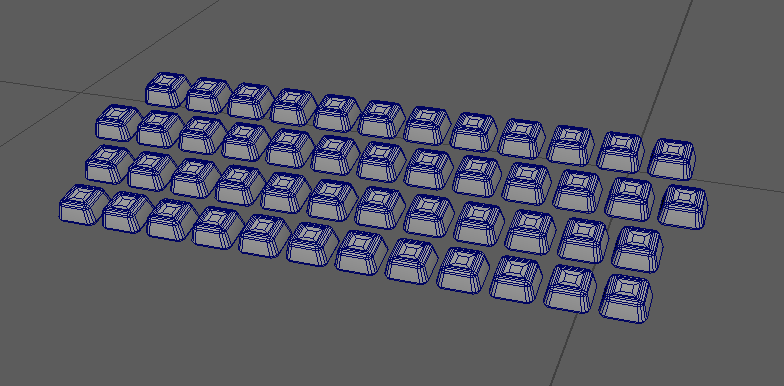
Arranging these objects in their correct position had the assortment of polys taking the shape of the typewriter.


I was not happy with the placement or the shape of these keys, so made an effort to create more that fitted the asset better.

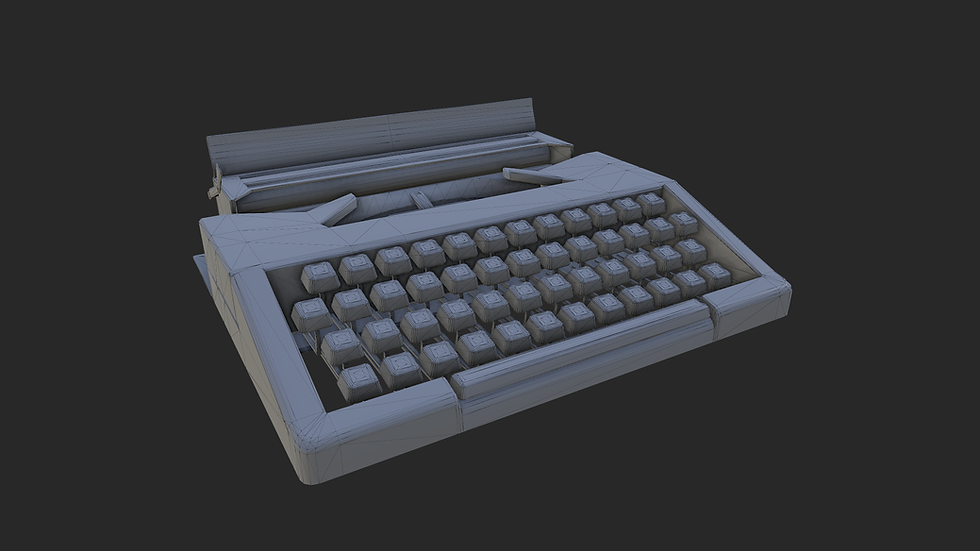
With some more fiddling around, the cleaning of typology, the addition of some more edge-loops, and some more beveling, the final asset has been created. Next step, the UV unwrapping process and texturing!


Comments